Table of contents
- Table of contents
- Introduction
- About Fork
- Downloading and Installation
- GUI
- Clone
- Repository Manager
- Commit
- Push
- Create Branch
- Merge Branch
- Merge Conflict
- Conclusion
Introduction
I tried to use Git GUI client, Fork.
This article is a memo about usage of Fork.
About Fork
You can see an explanation about Fork on the following web site.
Fork - a fast and friendly git client for Mac and Windows
Downloading and Installation
You can download an installer on the above web site and choose the one for Mac or for Windows.

After you executed the installer, the following window will be opened.
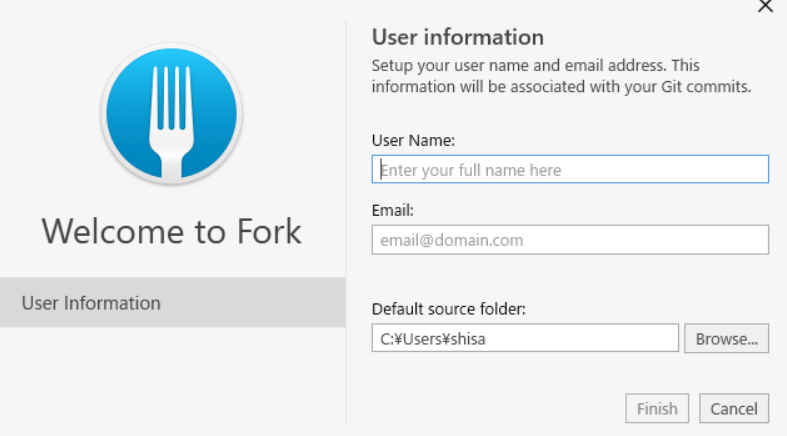
On this window, you need to enter your full name as user name and your e-mail address.
Finally, you need to select source folder and push 'Finish' button.
GUI
GUI of Fork is this.
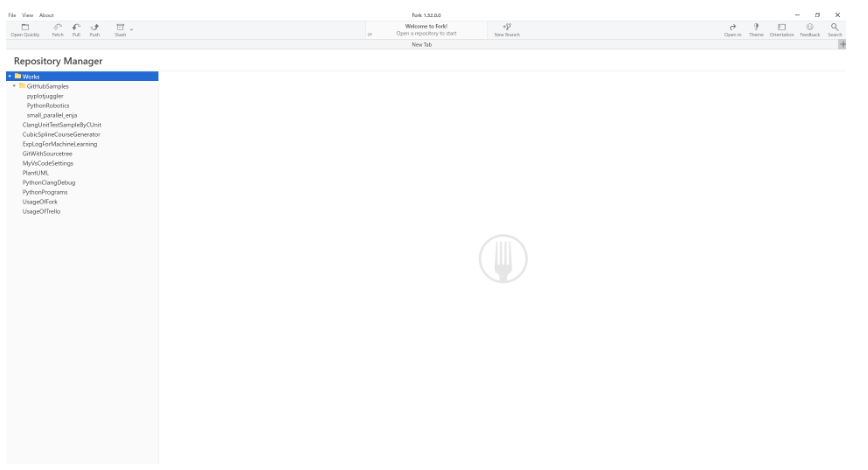
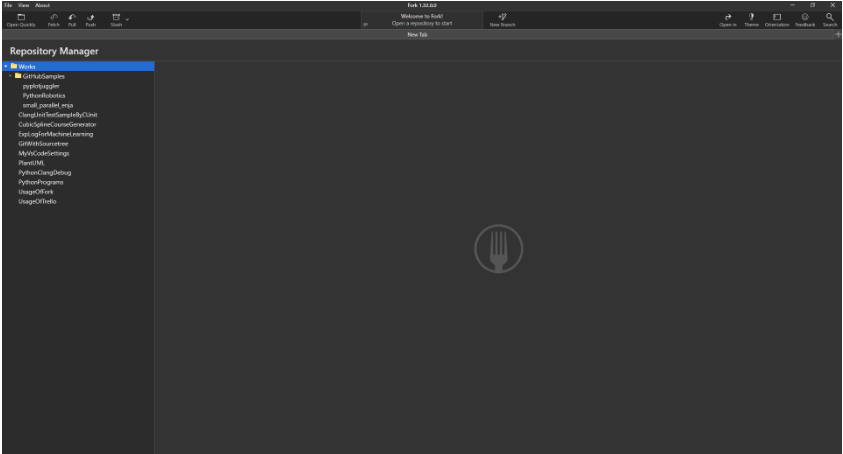
There are 2 kinds of color theme, white and black. You can switch the color by pushing 'Theme' button as follow. The button is located on the upper right of GUI.

The black color theme is as follow.
Clone
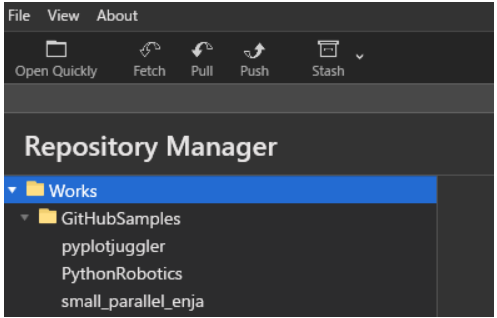
Open 'File' menu on the upper left of GUI and select 'Clone'.
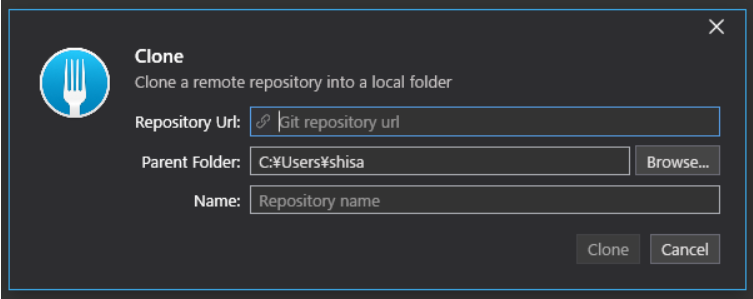
 After 'Clone' was selected, the following window will be opened. You need to enter Repository URL, Parent folder and Repository name. Finally, you need to push 'Clone' button.
Repository Manager
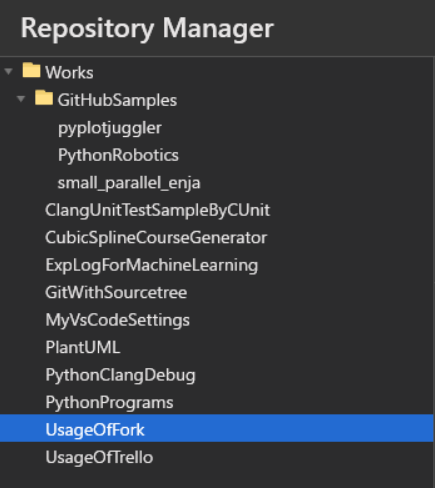
On the left side of GUI, Git repositories in your PC like this.
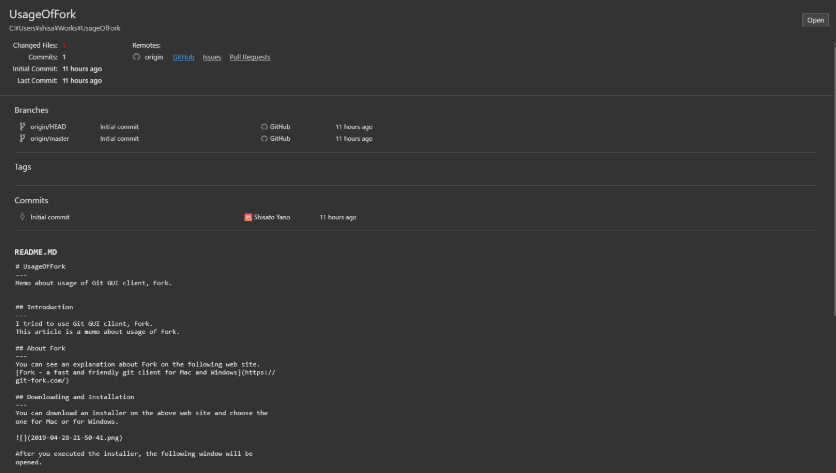
When you chose a repository, the information about the repository will be displayed as follow.
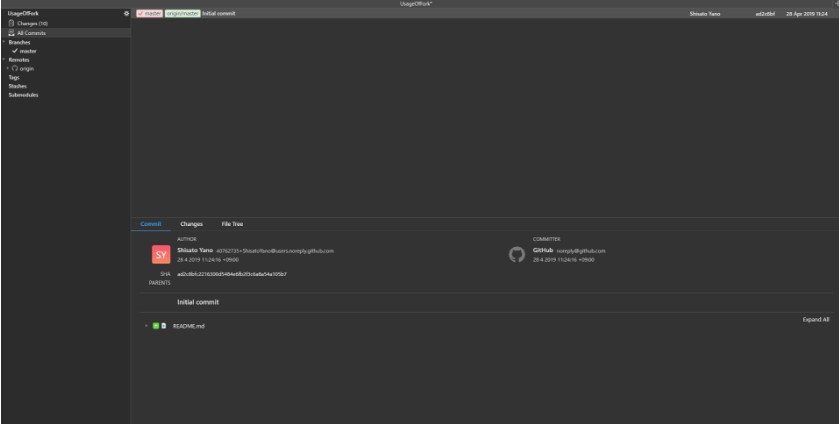
By pushing 'Open' button on the upper right, GUI will be switched to the one for staging and committing as follow.
Commit
You can see all of files which are changed and uncommitted by choosing 'Changes' on the left side menu.

After 'Changes' was chosen, all of unstaged files are displayed as follow. The changed of each file are displayed by choosing the file.
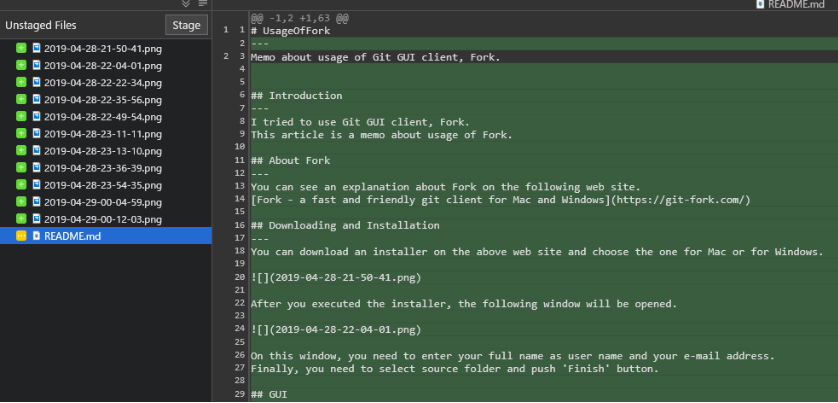
When you want to commit them, you need to select files you want to commit and push 'Stage' button on unstaged files GUI. After that, you can enter commit subject, description and push 'Commit ~ Files' button on the lower right of GUI.

Push
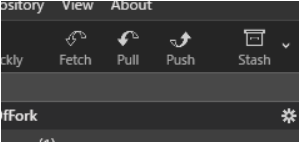
'Push' button is located on the upper left of GUI as follow.
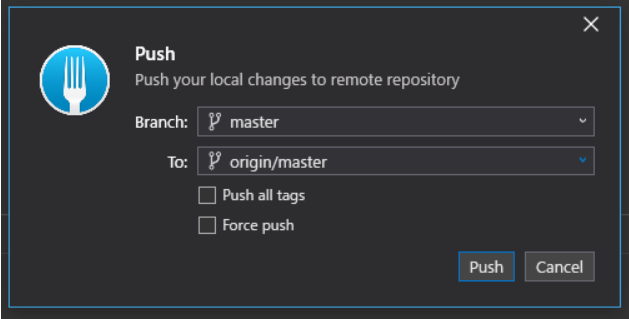
You can see the following window by pushing 'Push' button. You can push the committed files to a remote repository on this window.
Create Branch
You can see all of branches on the left of GUI. In the following figure, a current checked out branch is master branch. When you create a new branch, you need to do right click on the original branch and select 'Create New Brach...' menu.
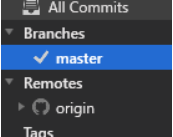
For example, 2 new branches are created and displayed on the GUI like this.

Merge Branch
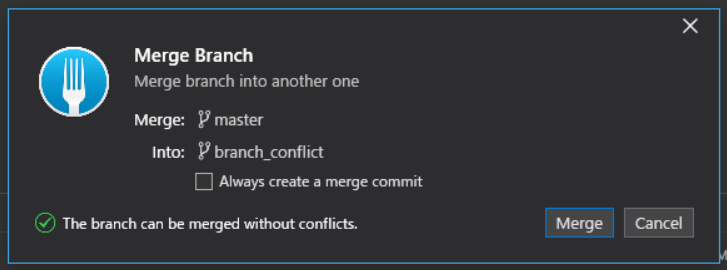
Firstly, you need to check out working branch. And then, you need to right click on the merge branch and select 'Merge into ~'. You can see the following Merge Branch window and can merge those branches.
Merge Conflict
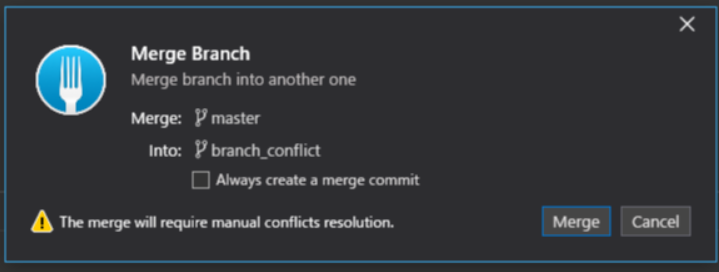
If there is a conflict between 2 branches, a warning message 'The merge will require manual conflict resolution.' on Merge Branch window as follow.
After you pushed 'Merge' button, a merge conflict message will be displayed like this.
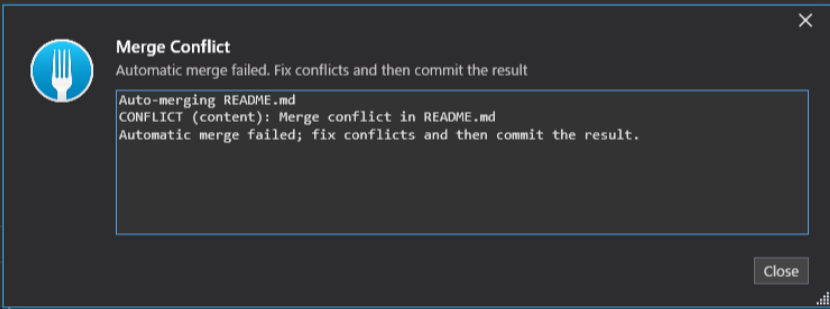
You need to close the above message and fix the conflict. Fork has a conflicts resolver which you can resolve the conflict easily. On the Fork GUI, you can see a 'resolve' button on the upper right. When you pushed the button, the resolver GUI will be opened as follow.

On the GUI, you can choose the remote modification or local modification. If you want to choose the local modification, you should remove a check box of remote one as follow.

Finally, you should push a button, 'Choose local (ours)'. And then, the conflict will be resolved and those branches will be merged automatically.
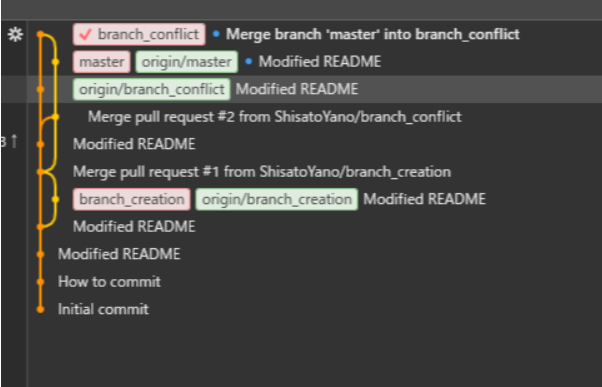
The following figure is a commit log which merged branch 'branch_conflict' into master.

Conclusion
In this article, I explained about usage of Git GUI client, Fork. I think that there is not any much difference between another Git GUI client, for example, SourceTree. But, as I mentioned, Fork has a conflict resolver and it is very useful because I can fix the conflict easily on GUI. So, I think Fork is more useful than SourceTree.